Creating a sub-interface in Windows Server 2012 and 2016
In this manual, we discuss how to add a second IP address to the network interface (create a sub-interface).
Viewing interfaces
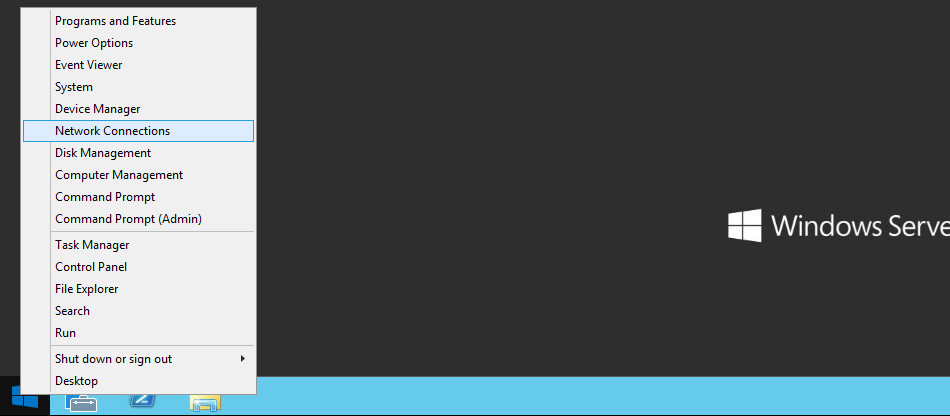
In the taskbar, right-click on the start button or press the keyboard shortcut Win + X.
Select 'Network Connections' in the dialog box:
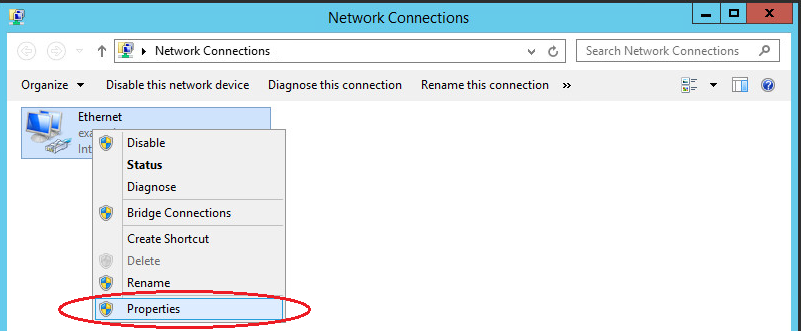
In the window that pops up, right-click on the Ethernet network connection icon and click Properties in the dialog box:
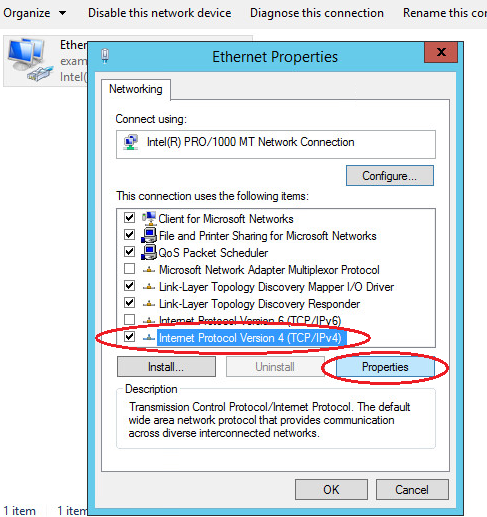
This will open the network interface configuration box. Select the component "Internet Protocol version 4 (TCP/IPv4)" and press Properties:
Adding an IP address
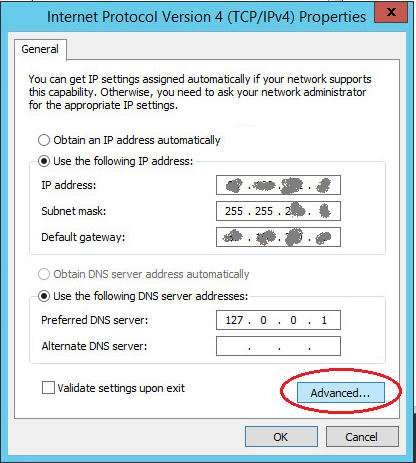
(Note: next, enter the values of the IP addresses given to you where the last octets in the field 'IP address' show X and Y)
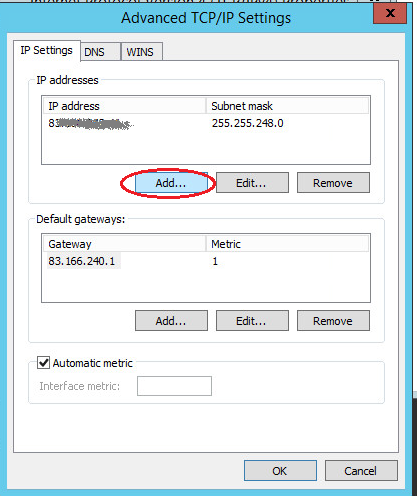
In the window that pops up, press Advanced:
Press Add in the IP Settings tab:
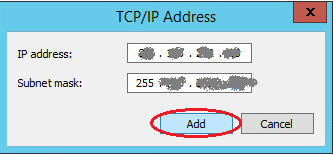
Specify additional IP address and subnet mask here, then press: Add:
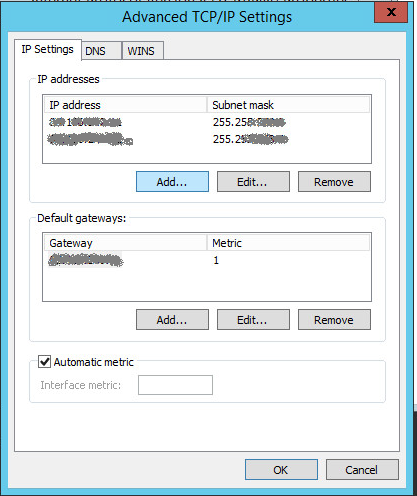
Thereupon, the IP Settings tab will show two IP addresses in the list.
Complete the action by clicking OK in all subsequent windows.
Now you can check the availability of your server at the additional IP address by using Ping utility.
This completes the configuration of the additional IP address.
If you need, add another IP address by repeating the above steps.