How to configure VestaCP control panel
How to access VestaCP
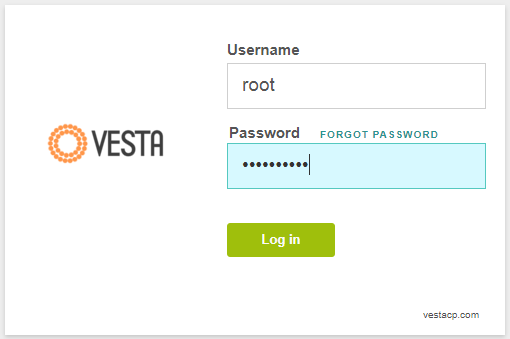
By default, VestaCP is available via https on port 8083.
In the address bar of the browser, type https://[IP_your_server]:8083. Use the same login and password as specified in your account.
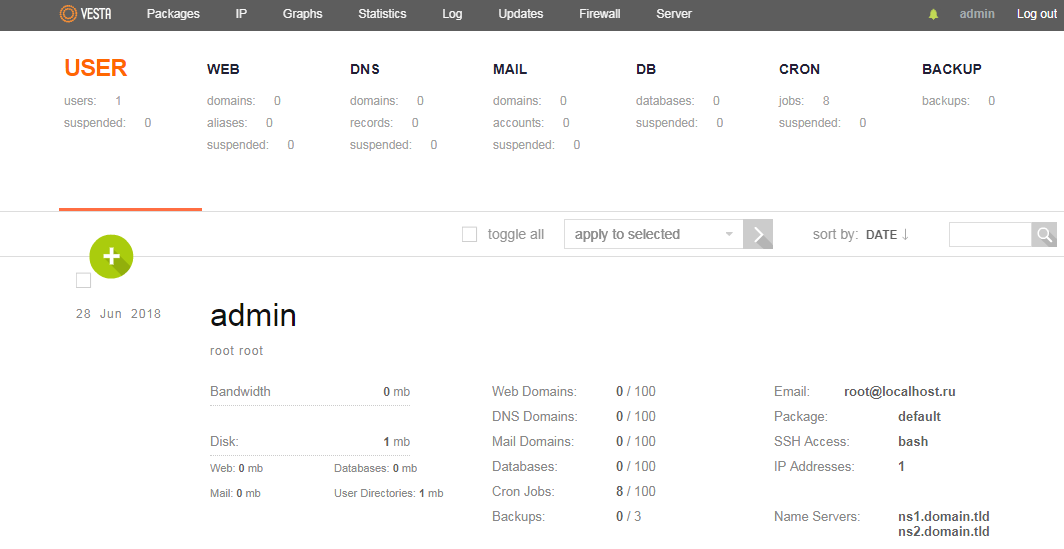
This is how VestaCP GUI looks like:
How to set up a site domain?
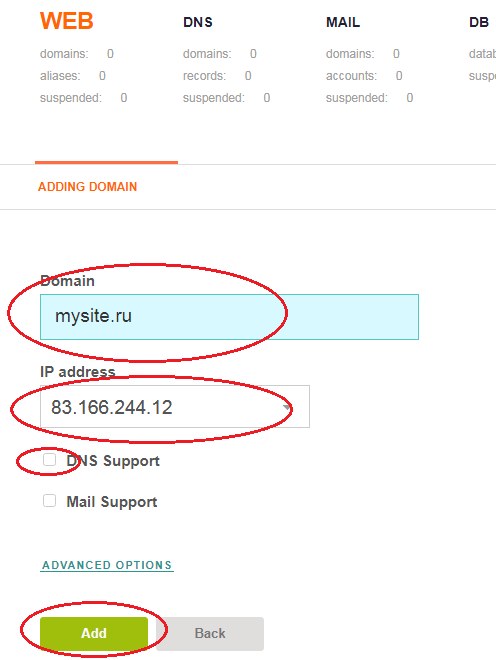
In the main page of the panel, select "WEB" and click "+ Add Domain":

Let's assume you have purchased mysite.ru domain and you have a server with an IP address of 83.166.243.40 to be used for the site http:// mysite.ru.
Write down the domain name and IP address of the server in the appropriate fields. Deactivate DNS support. Click "Add".
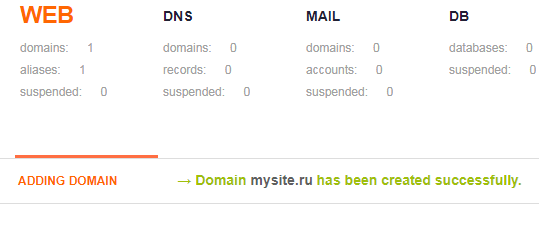
You will be prompted a message confirming the successful addition of the domain:
Now, if your domain name registrar has set up all necessary configurations, your site will be accessible to all visitors.
How to upload files to server?
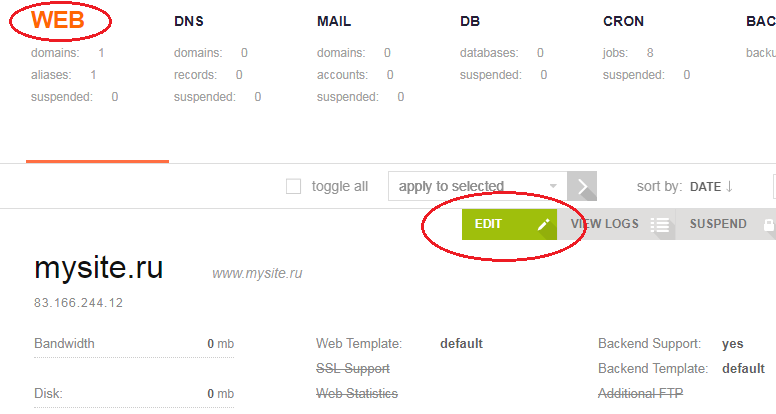
You can use an FTP connection to upload files to the server. Create an FTP account on your server using VestaCP. In the main page of the panel, select "WEB", hover over the domain name and in the drop-down menu click "Edit":
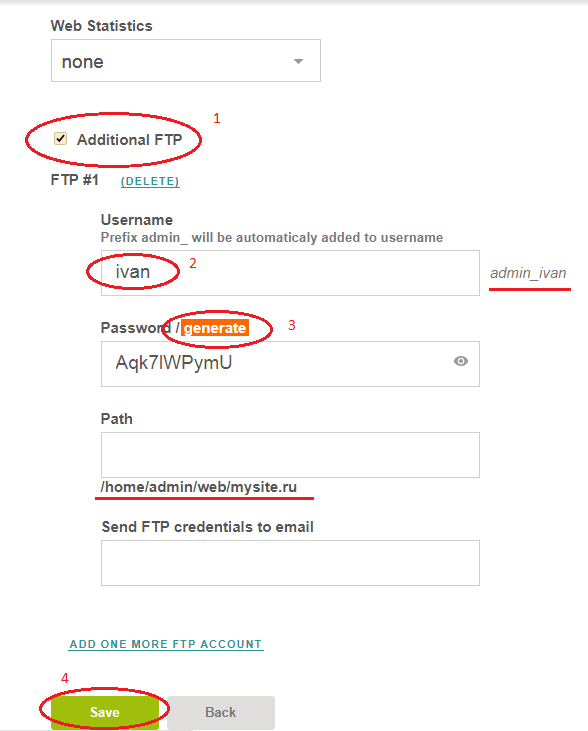
Check the option "Additional FTP".
In the option's settings, enter the account name, e.g., Ivan (! keep in mind that the admin prefix will be added to the account name, e.g. admin_ivan will be used to connect via FTP, admin_ivan), generate a password or create your own. "Path" field is the path to the folder that will be available upon connection via FTP, by default it is /home/admin/web/your_domain (in this example - /home/admin/web/mysite.ru).
Click on "Save":
FTP-server is now ready for use. To download files using an FTP connection, you must use a special program, an FTP client (e.g. FileZilla). Before downloading files, establish an FTP connection to the server. For this purpose, enter the following parameters in the FTP client's connection properties:
- address of the FTP-server
- user name
- password
Click on "Quickconnect":
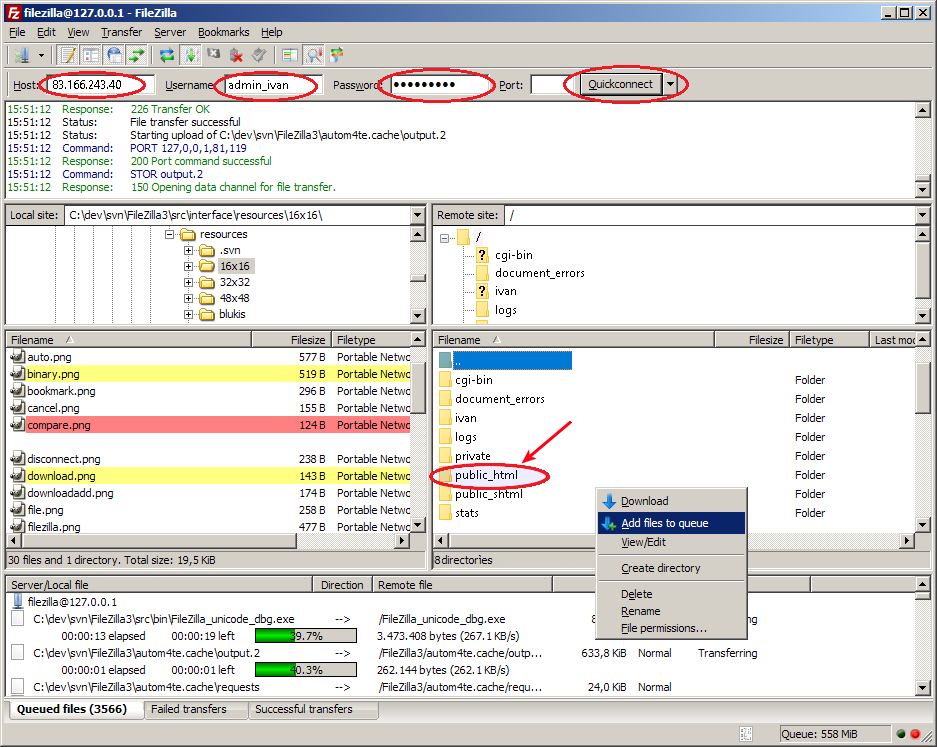
After successful connection is established, the contents of the accessible directory of your server will be displayed on the right side of FileZilla's (FTP client) interface with the files of the local computer being displayed on the left side.
Upload necessary files to the server by dragging them onto the right side.
Please pay attention to the public_html directory. It is the directory to which the files of the site (if any) need to be copied.
After having been uploaded to the directory named as above, the files will be accessible in the Internet at the following address http://your_site.ru/file-name
- your_site.ru — domain name of your site
- file-name — full name of the file with extension
E.g., if your domain name is mydomain.ru and the name of the file is test.html, then after uploading to the server the file will be available at http:// mydomain .ru/test.html.
How to create a database?
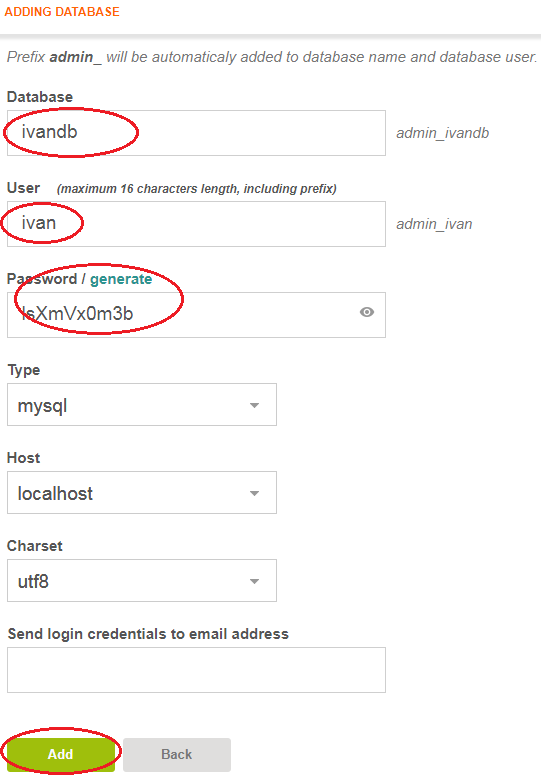
In the main page of the panel, select "DB" and click "+ ADD DATABASE":

Enter the name of the database (ivandb is used in the example), user name (ivan is used in the example), generate or enter a password and click "Add":
You will be prompted a message confirming the successful creation of the database:
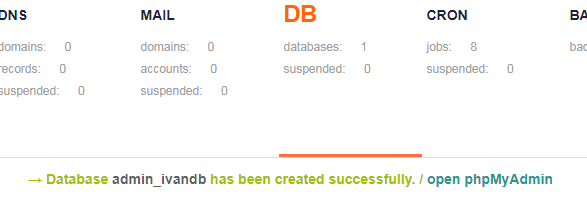
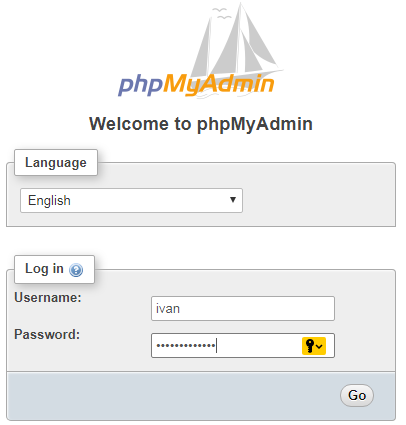
To access the database, click on open phpMyAdmin. The phpMyAdmin authorization page will opens. Enter your user name, password and manage the database: