Windows Server 2012/2016: how to connect in shadow copy mode if Active Directory is on
Shadow mode
Shadow mode (session) can be used by the administrator to view and manage the active terminal session (user monitor) of any user. It is possible to connect to a user session using mstsc.exe utility or directly from the Server Manager. console. For this purpose, the collection of sessions that are available after the installation of the remote desktops service need to be used. To install the remote desktops service, it is necessary to ensure that your server running Windows Server 2012/2016 is entered in the domain.
For the purposes of this manual, the server is already in the domain EXAMPLE.COM
Installing RDP services
In the "Server Manager" select "Manage" and "Add roles and components":

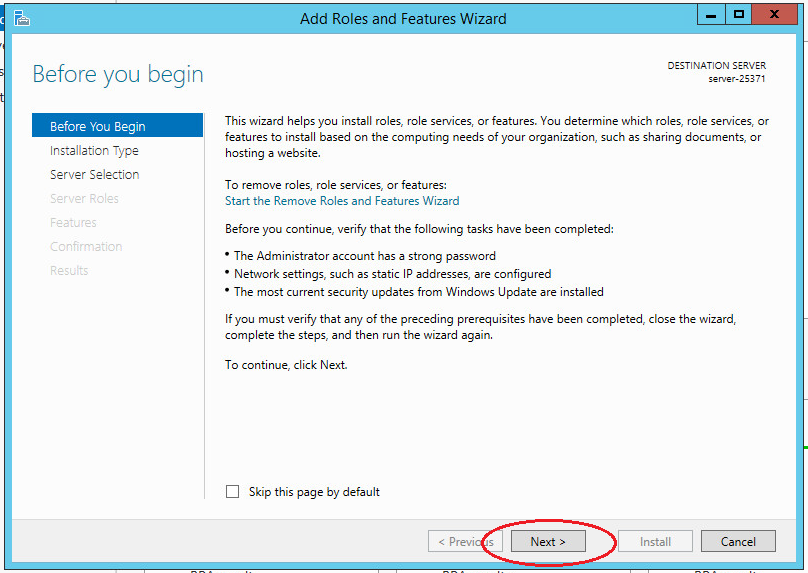
In the first step of "Add roles and components" wizard and press "Next":
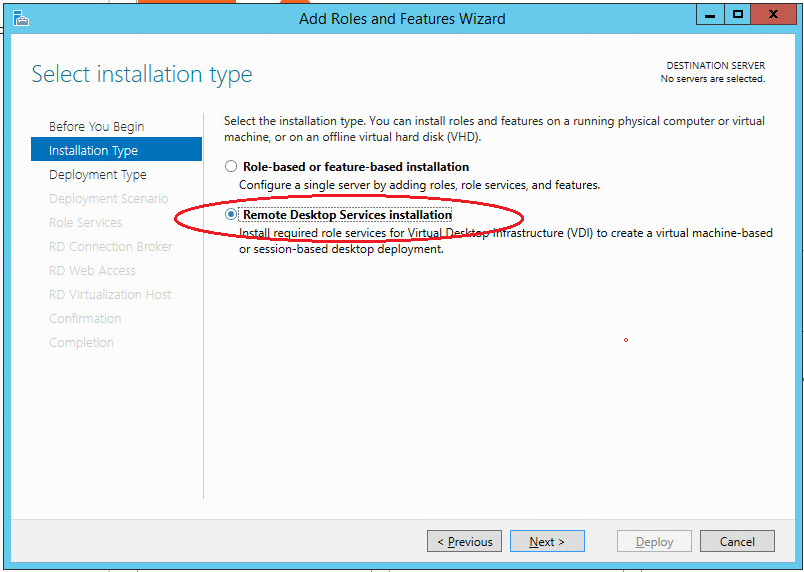
In the second step, select "Remote Desktop Services installation":
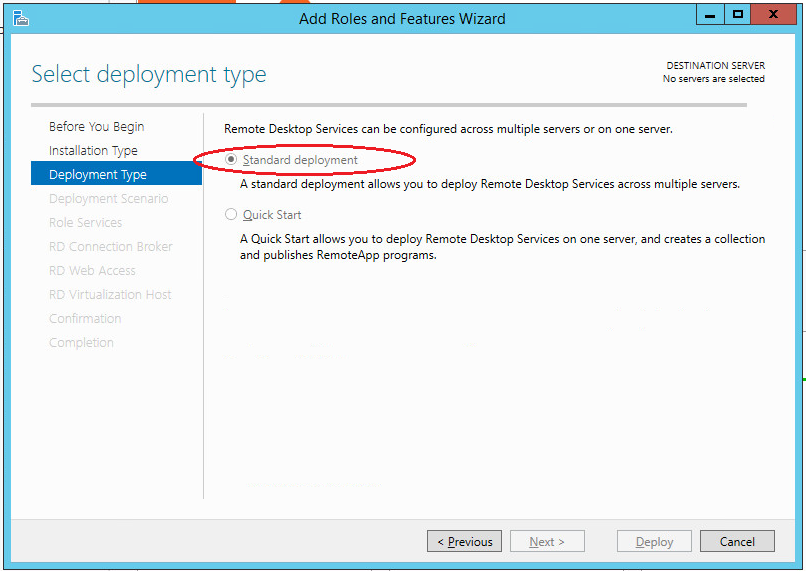
In the next step, you will be prompted to select the type of deployment. Select "Standard deployment" and press "Next":
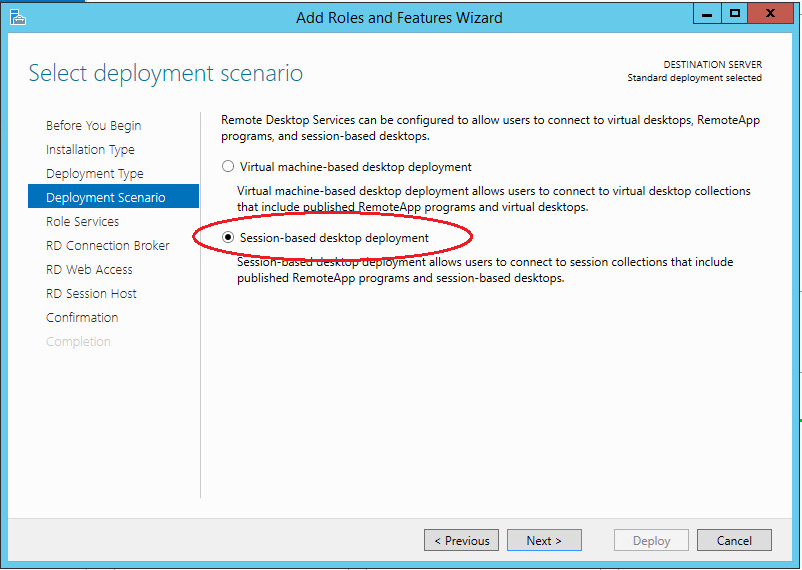
Select the scenario "Session-based desktop deployment" and “Next”:
Press "Next":
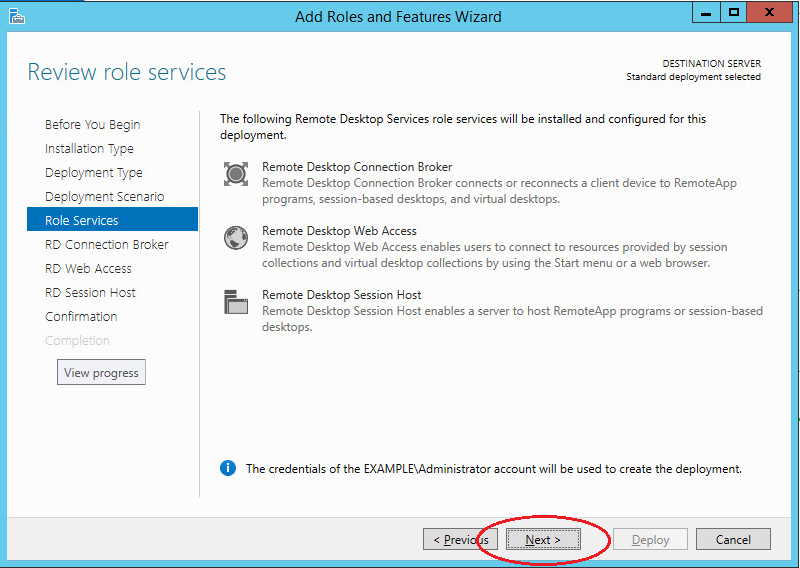
Now it is required to select the server "RD Connection Broker", select the required server in "Server Pool" and press "Next".
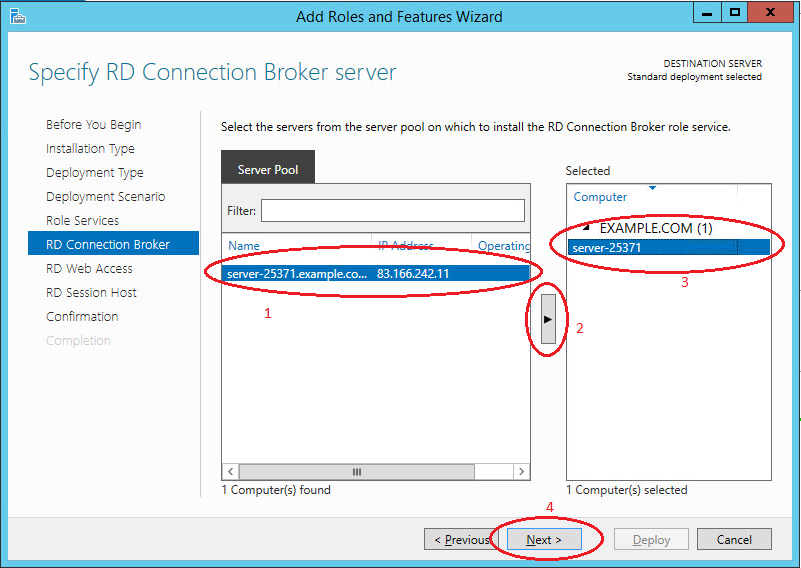
On this stage, select the required server from the list "Server Pool" and press "Next":
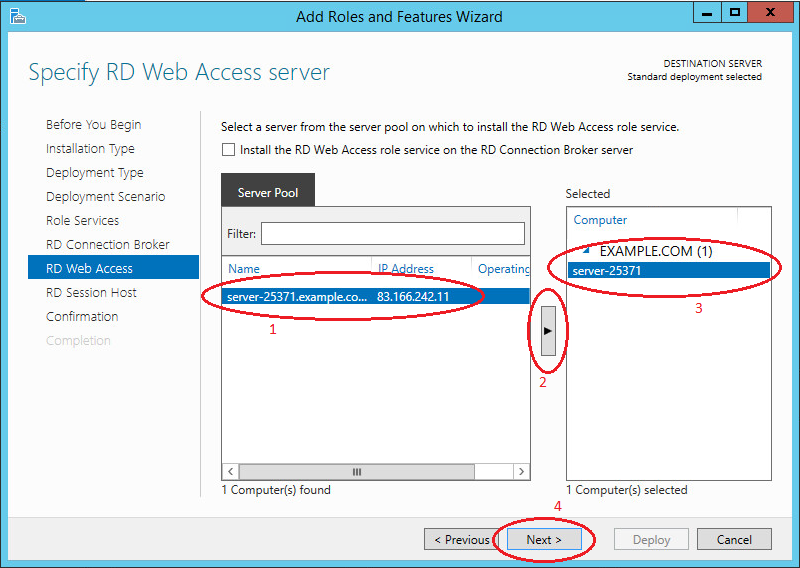
Specify server for "Remote desktop session host" by selecting a server from the list “Server pool” and press “Next”:
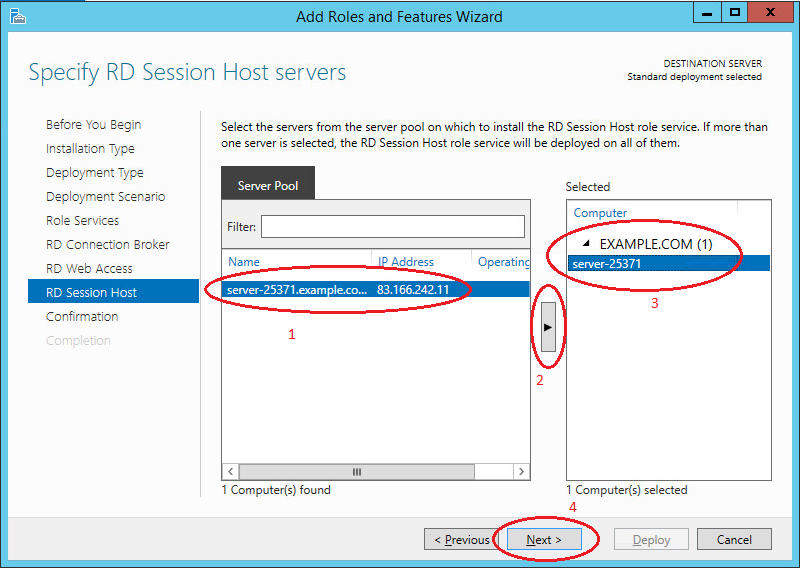
Check the box "Restart the destination server automatically if required” and press "Deploy":
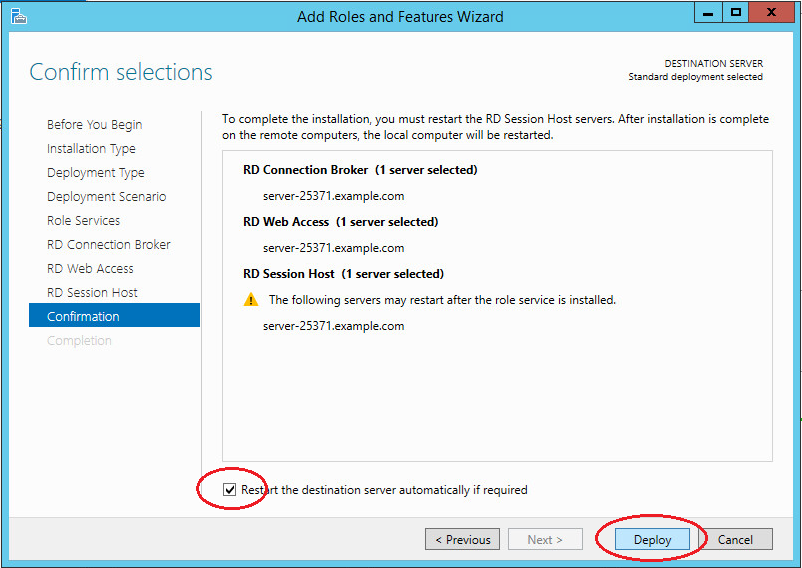
Wait for the selected roles to be installed, following which the computer will restart. After the reboot, the "Add Roles and Features Wizard" will automatically start to configure the installed services. Wait until the settings are complete and click "Close":
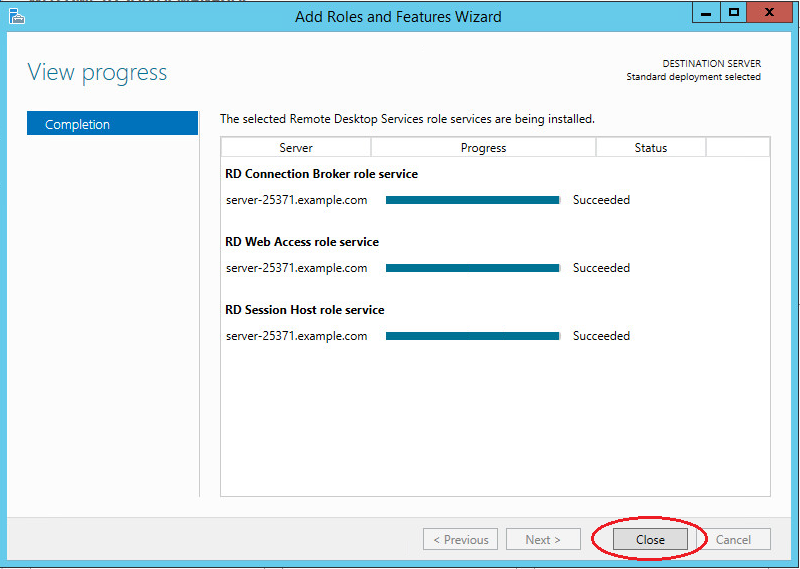
This is where the installation of "Remote desktops service" is complete.
Collection of sessions
Now let's create a collection of sessions.
In the section “General Information”, select “Create a collection of sessions":

At the first step of the wizard, press "Next":
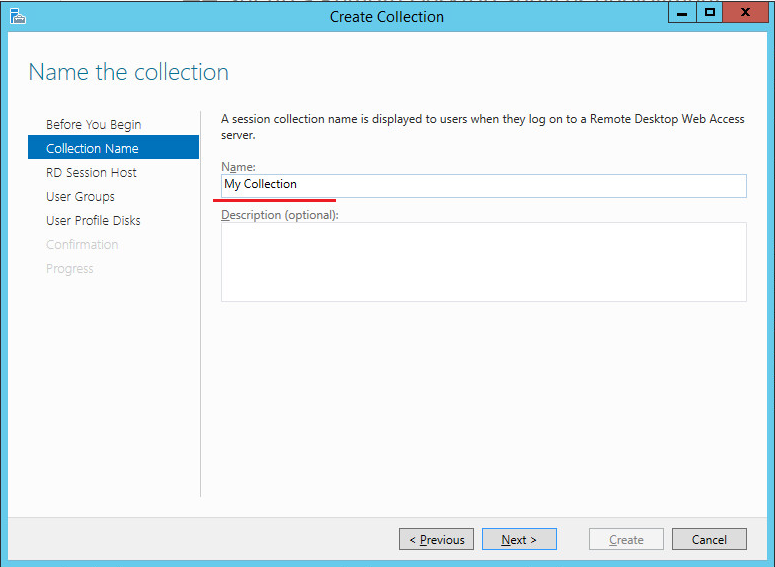
Specify the name of the collection and press "Next":
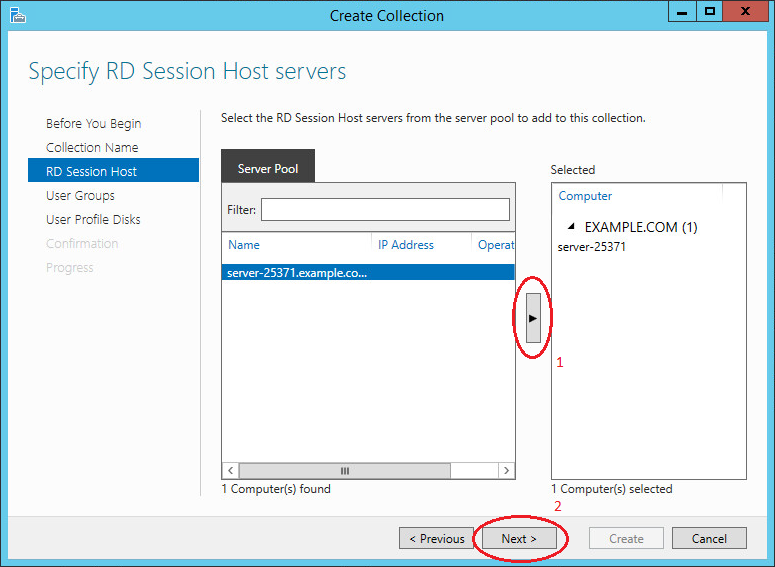
Specify server for “Remote desktop session host” from the list “Server pool” for adding to the collection and press "Next":
Here a user or group of users who need access to this collection of sessions can be added. In this example, all users of the domain have access to this collection of sessions. Then press "Next":
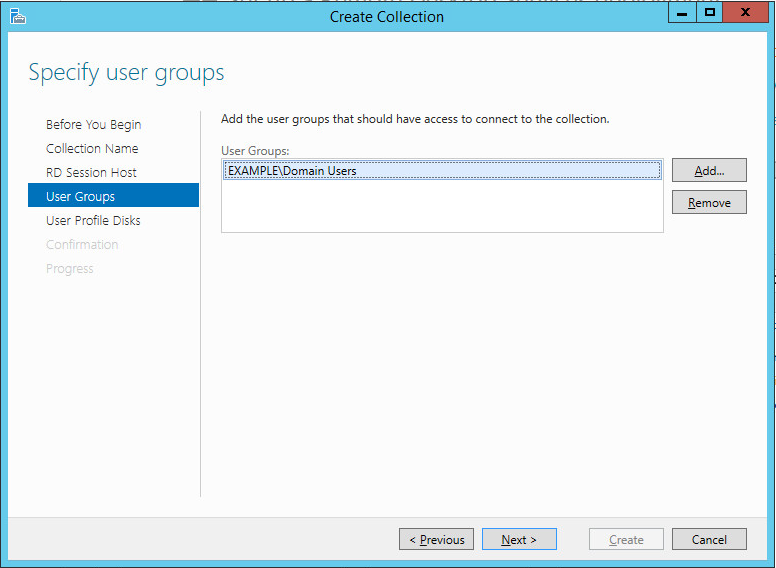
If there are no user profile disks, uncheck “Enable user profile disk” and press “Next”:
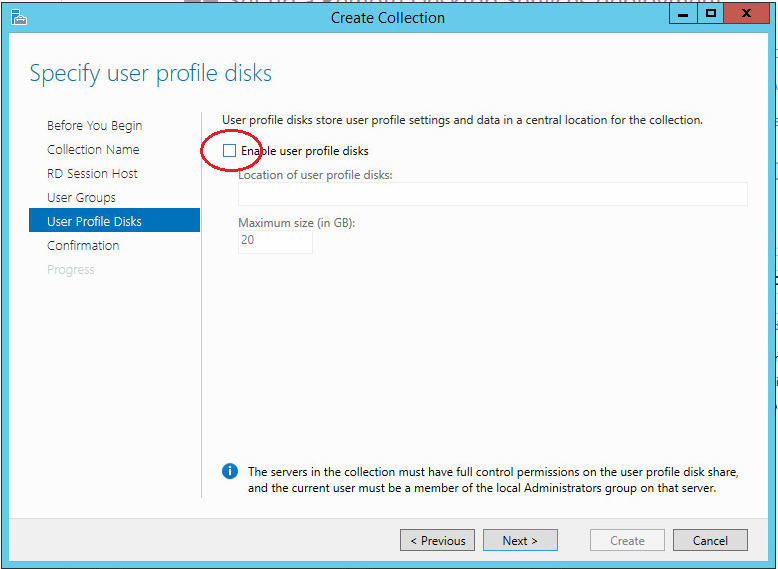
At this step, press "Create":
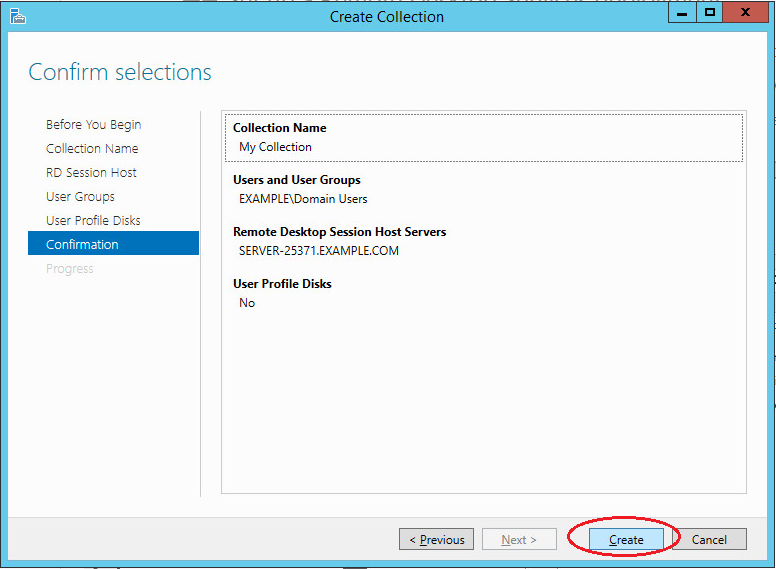
Following successful creation, press "Close":
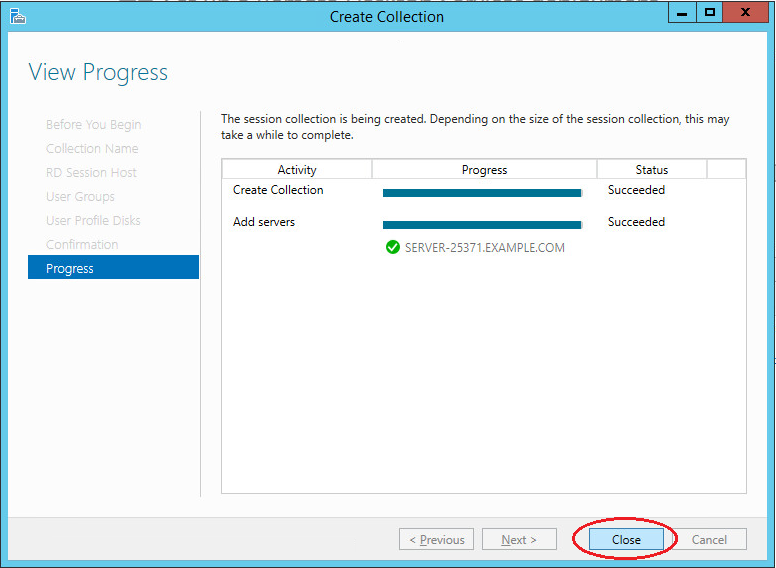
Now that all the necessary components are installed, it is possible to connect to the shadow session of any active user.
Connection to a session
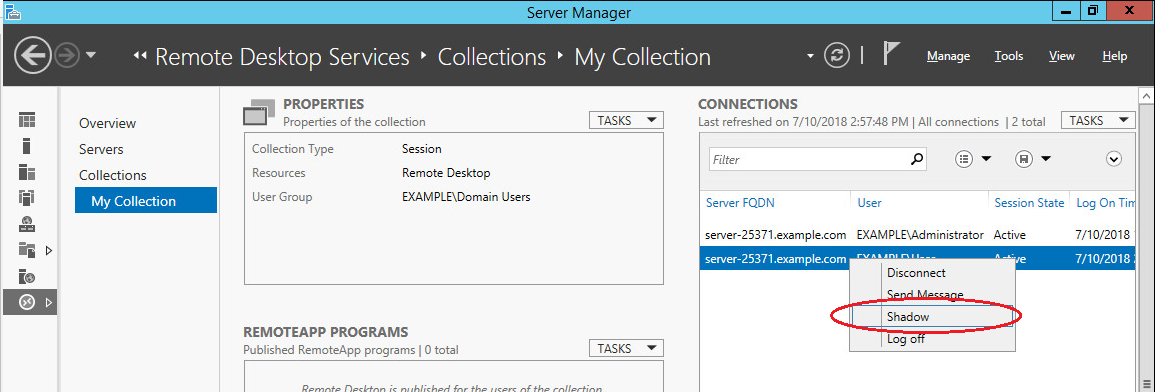
In the "Server manager", go to the created collection ---> "Remote desktops service" ---> "Collections" and select your collection.
For the purposes of this manual, it is called "My collection":

In the "Connections" list, select a user you want to monitor or control, right-click on it and select "Shadow":
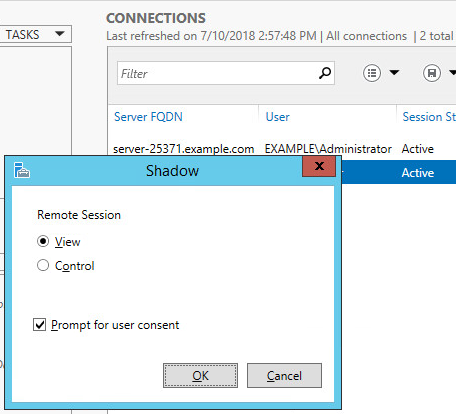
In the window that pops up select the function you need, i.e. "View" or "Manage":
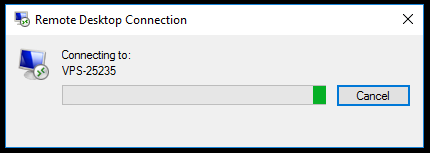
You will see the following message:
At this point, a remote monitoring request box will pop up on vasya's display:

We get access once User accepts the request.
To connect without the request, it is necessary to change the remote control settings of a specific user, i.e. vasya in this example.
Click: "Server manager" ---> "Tools" ---> "Active Directory Users and Computers" :

Double-click on the user name and select the "Remote control" tab: In the "Require User's permission" parameter, uncheck the box and select the desired user session control level.
Press "Apply" --→ "Ок":
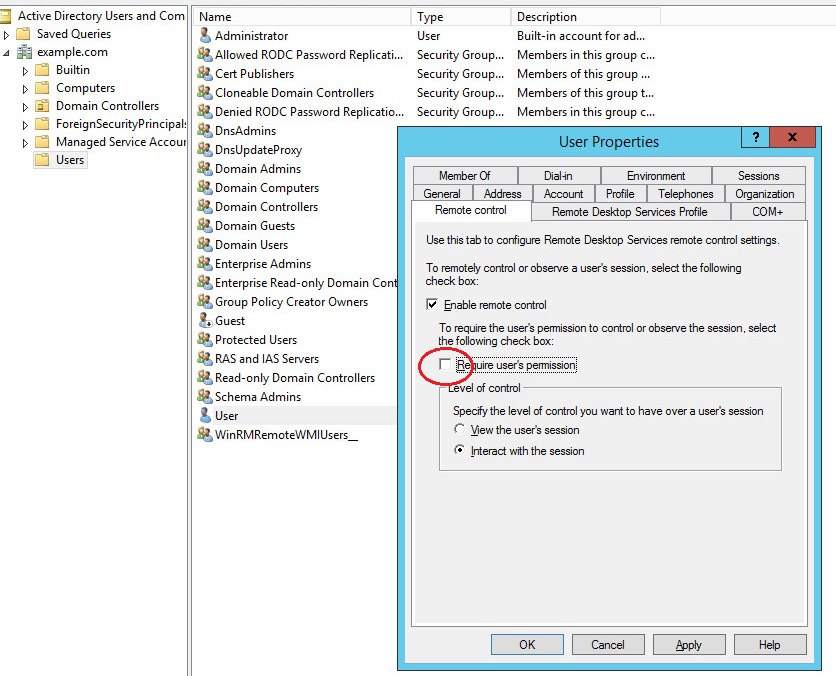
Now you can connect to, manage or monitor the the user's session without their knowledge.
